Timebutler offers a full-featured time tracking system, including a virtual time clock, extensive configuration options, working time accounts for all employees, view and edit permissions, bookings to projects and categories, statutory and individual break rules, reporting options with Excel download, and much more.
All users can record their times via the virtual time clock or enter them directly. You can also use the time tracking terminal: open the Timebutler time tracking terminal view on a standard tablet and place the tablet at the office or company entrance. All employees can then clock in and out and record breaks on the tablet with just a few clicks.
You can activate time tracking in Timebutler with just a few clicks. Since all employees for whom time tracking is active must record or enter all of their working time via the virtual time clock, inform them in advance.
Important
If you have activated the overtime feature, activating the time tracking feature will automatically and immediately deactivate the overtime feature. In this case, read here how to switch from the overtime feature to time tracking.
You can first try out time tracking with a small group and later roll it out to the entire company — or you can enable time tracking for all employees right away. The following describes how to try time tracking with a small group and then extend it to all employees.
1) Activate time tracking for a limited user group
Sign in as an admin at timebutler.com and click Settings > More… > Time tracking.
- With the first option, Activate time tracking, you activate time tracking.
- With the second option, Start of time tracking, set the current date or the date on which you want to start time tracking.
Go through the remaining options on the page and then click the blue Save button at the bottom of the page.
If you also want to activate or deactivate time tracking for individual employees, click Employees in the top left menu, then Overview below the small Employees label. Click the green pencil icon (= Edit) in the row of the relevant user account. At the top, under Enable Time Tracking?, set the desired option. Save the change by clicking the blue Save button at the bottom of the page.
2) Set target working hours
After activating time tracking, click Settings > Working days. Here you can check the daily target working hours for each employee and, if necessary, change them by clicking the blue Edit button.
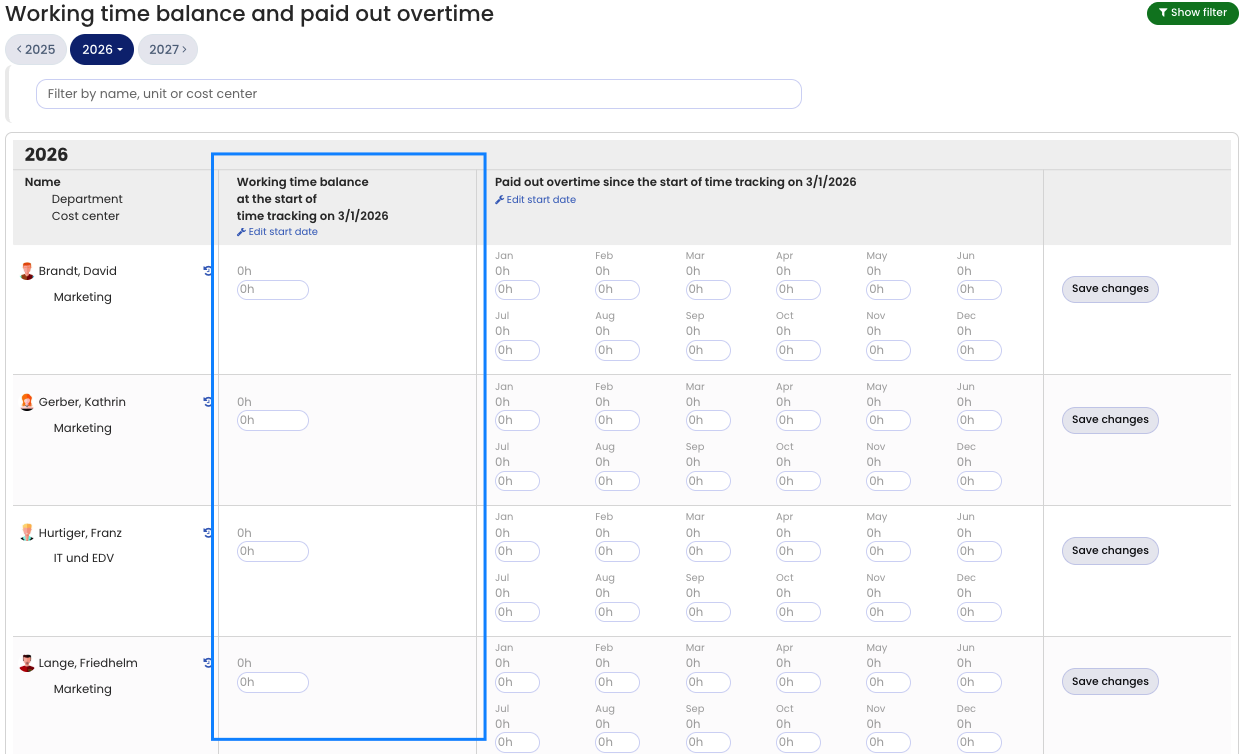
3) Set the overtime starting balance
Click Settings > Working time balance (only visible once time tracking is activated). In the column Working time balance at the start of time tracking, you can set each employee’s overtime starting balance.
4) Test time tracking
That’s it. The activated employees can now enter working times or record them via the virtual time clock (provided you activated the time clock in step 1), and you can view the list of working time entries, open working time accounts, run reports, download data, and more.
5) Enable time tracking for all employees
Once you have decided to use time tracking across the entire company, remove the restriction to specific departments (see step 1 above). You should also move the start date of time tracking forward, because newly activated users will not have entered any working time entries since the previous start date and would therefore go into negative balances. Finally, adjust the overtime starting balance as described in step 3.
Screenshot: Set the overtime starting balance