With vacation blockers and warnings, you define dates or periods during which employees can’t take vacation or during which a warning appears. For example, if Sales should attend a business event together next year, you can set up a vacation blocker in advance to ensure that employees in Sales cannot request vacation during that time.
Warning
With a warning, the employee sees a warning message when entering a vacation request and can then decide whether to submit the request anyway.
Vacation blocker
If a new vacation request conflicts with a vacation blocker, an employee user receives an error message and cannot save the request. Admins receive a warning and can override the blocker if they want. You can also decide for each vacation blocker whether managers may override it.
Options
You can limit vacation blockers and warnings to specific employees, departments, or locations. You can create vacation blockers and warnings that recur annually, and you can decide whether to allow special leave to be entered despite vacation blockers.
Edit vacation blockers and warnings
To view or edit vacation blockers and warnings, sign in to Timebutler as an admin and click Settings at the bottom left, then Vacation blockers below it.
Displaying vacation blockers
Vacation blocker and warning periods do not appear in the calendar yet. However, if an employee submits a vacation request that falls within a vacation blocker or warning, they receive the corresponding error/warning message.
In addition, every user can view their vacation blockers. They sign in to their Timebutler account and click Settings at the bottom left, then Vacation blockers below it.
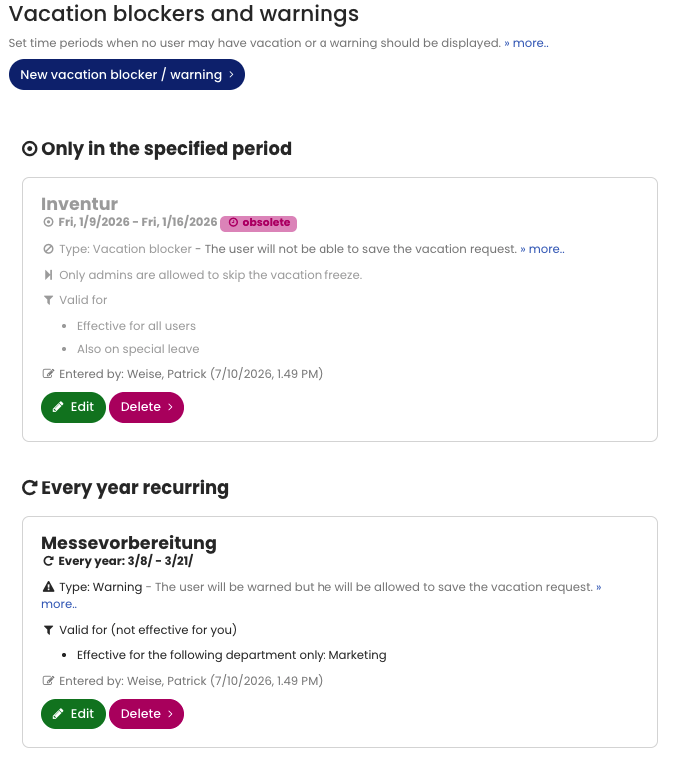
Screenshot: Example vacation blocker